
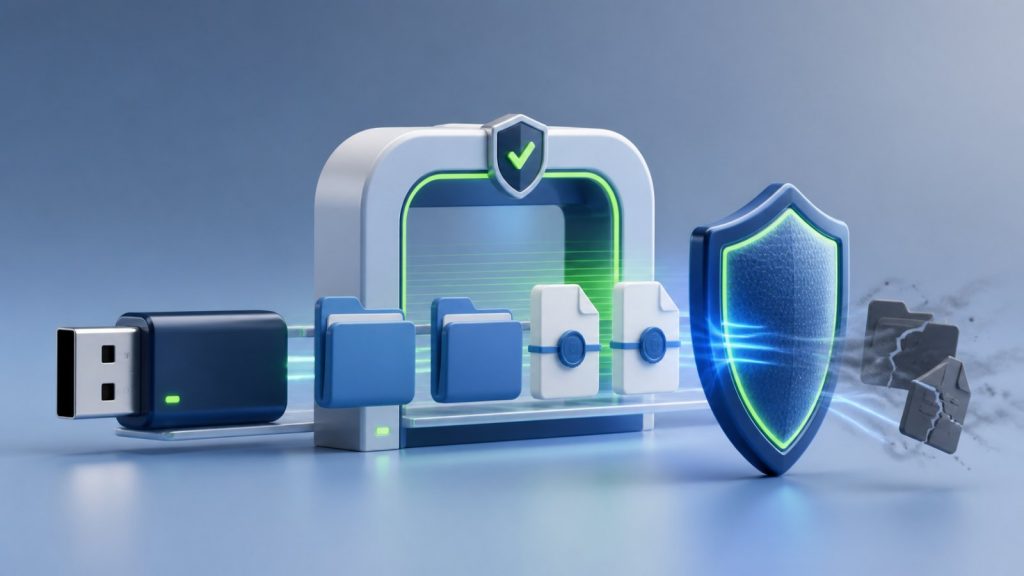
You do not need to browse through a USB drive or double-click its files to scan it. If a drive came from an unknown computer, contains unexpected shortcuts, or shows folders you do not recognize, the safer sequence is: identify the device, scan it from a trusted interface, review the results, and only then open known documents.
Prepare the computer
- Use a Windows account and computer you trust.
- Install Windows updates and update Microsoft Defender security intelligence.
- Close applications that automatically import photos, music, or documents from removable media.
- Disconnect other USB storage so you cannot select the wrong drive.
Windows AutoPlay behavior depends on system policy and user settings. Microsoft documents controls for preventing or limiting AutoPlay, but those settings do not replace malware scanning. If a prompt appears after insertion, close it rather than choosing an action.
Identify the USB drive without browsing its files
Open This PC in File Explorer and note the removable drive’s letter, label, and capacity. Selecting the drive in the navigation pane is not the same as opening a file, but you can avoid entering the folder entirely by starting the scan from Windows Security or Shortcut Remover.
Never guess the drive letter. Letters can change when devices are reconnected.
Run a Microsoft Defender custom scan
- Open Windows Security.
- Select Virus & threat protection.
- Choose Scan options.
- Select Custom scan, start the scan, and choose the removable drive.
- Wait for the result and review Protection history if Defender reports an action.
Microsoft’s Defender antivirus FAQ explains scan options and protection behavior. In a business environment, scan policies may be controlled by an administrator.
Inspect shortcuts without launching them
When the concern is a shortcut-virus pattern, use Shortcut Remover and select the confirmed drive. Choose a full scan when you need the entire selected drive inspected.
A trustworthy result should tell you:
- which root was scanned;
- how many directories and files were processed;
- how many shortcuts were inspected;
- whether access errors occurred;
- whether a safety limit interrupted the scan;
- whether the final result is complete.
Review a finding’s target and arguments inside the application. Do not test a suspicious shortcut by opening it.
Handle findings conservatively
Quarantine reviewed shortcut findings instead of deleting them immediately. Then verify whether the expected original folder still exists. If the original data is present but hidden, use a confined visibility repair after the drive and PC have been scanned.
Do not copy unknown executables, scripts, or shortcuts to another computer for “testing.” That moves the risk instead of analyzing it.
When it is reasonable to open files
No scan can guarantee that a file is safe. Risk is lower when:
- Defender and the shortcut scan complete without unresolved findings;
- the scan covered a plausible number of files and directories;
- there were no unexplained access errors;
- the file type and source are expected;
- you have a backup of important data.
Be especially cautious with executables, scripts, macro-enabled Office documents, disk images, and archives from an unknown source. A clean shortcut scan only addresses shortcuts; it is not a verdict on every file type.
If the drive is for evidence or contains sensitive data
Ordinary scanning and attribute repair write metadata and may change the drive. If the device could be evidence, belongs to an employer, or contains regulated data, disconnect it and follow the organization’s incident-response process instead.
Next: Learn how to verify a full scan that finishes unexpectedly fast or what to do when USB folders become shortcuts.